🚚 توصيل مجاني للطلبات فوق 299 ريال سعودي* | باستثناء المنتجات الثقيلة
سياسة ملفات تعريف الارتباط
أوافق على معالجة بياناتي وفقًا للشروط المنصوص عليها في سياسة الخصوصية.Cart
Your cart is empty

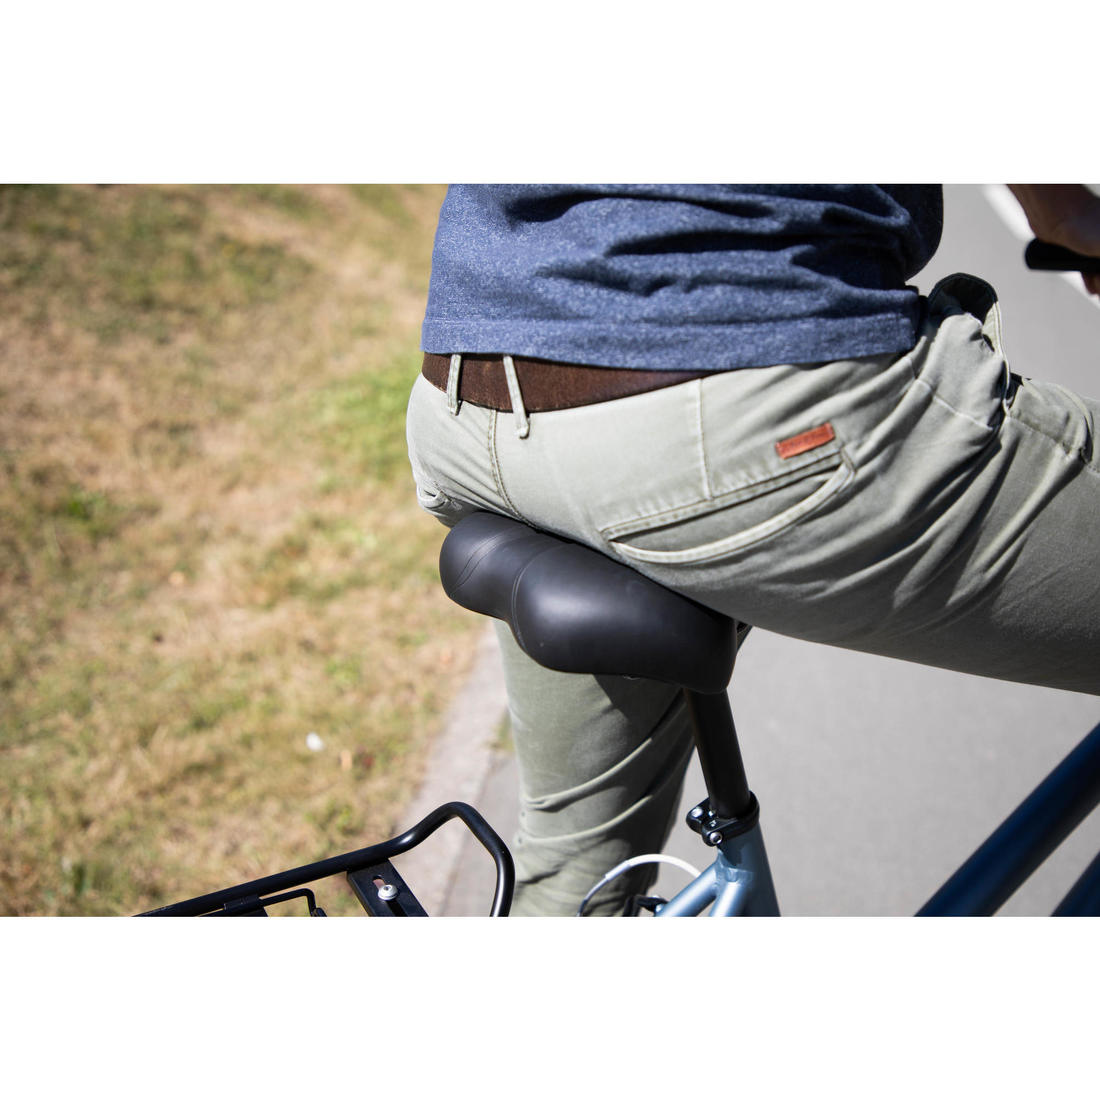
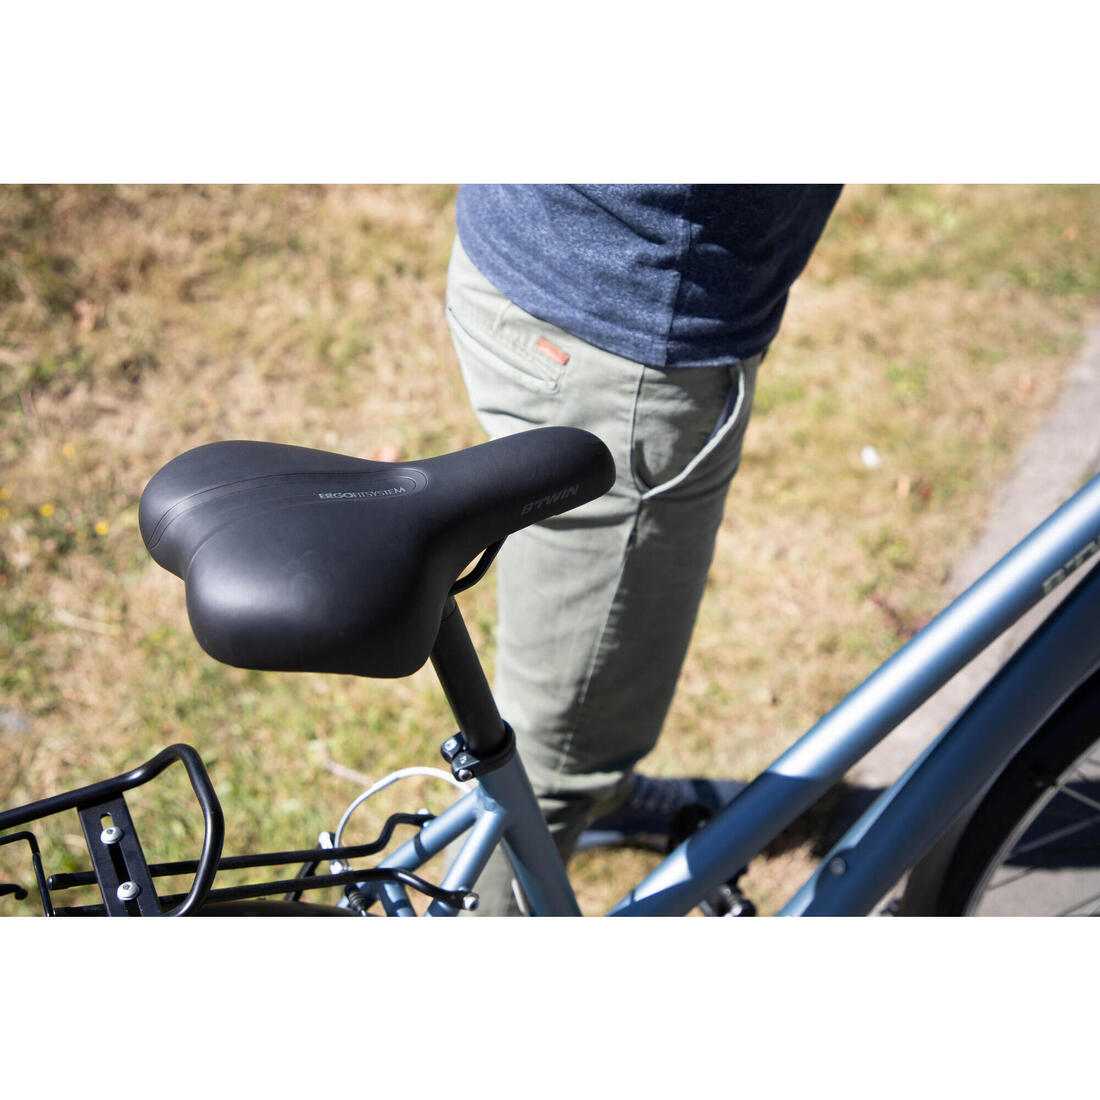

We've designed this saddle for occasional bike rides of up to 1 hour at low intensity and a back angle of 90°.
Perfect for daily travel with a wide cut suited to all body shapes.
We've designed this saddle for occasional bike rides of up to 1 hour at low intensity and a back angle of 90°.
Perfect for daily travel with a wide cut suited to all body shapes.
We've designed this saddle for occasional bike rides of up to 1 hour at low intensity and a back angle of 90°.
260 mm x 195 mm
Compatible with all brands of seat post with 7 mm rails.
Choosing the right saddle all depends on your position on the bike.For a straight back position (90°), opt for a very wide saddle, often with gel, ideal for outings.If you are slightly bent over (60°), an intermediate saddle will be a good compromise between comfort and performance.Finally, for a sporty position (30°), a thin saddle with a narrow nose is the solution to reduce pressure and improve your performance.
For maximum comfort, adjust your saddle at four key points.Choose a model suited to your posture (for example, a 60° back angle).Adjust the height to suit your body type, then adjust the angle to avoid discomfort.Finally, adjust its setback for good alignment. For complete comfort, don't forget to wear cycling attire suited to the length of your rides.
Step 1: Get a hardback book and a pencil. Step 2: Stand barefoot with your heels against a wall and your feet apart (15-20 cm). Step 3: Slide the book between your legs to your perineum. Step 4: Mark the top of the book on the wall. Step 5: Measure from the floor to the mark. This height corresponds to your inseam, which is essential for choosing the right size bike.
Adjusting your saddle correctly is easy! - Inseam measurement (in cm) × 0.883 = height to be adjusted. - For example:89 cm × 0.883 = 78.6 cm. This distance is measured between the bottom bracket and the top of the saddle.
Before setting off, check the angle of your saddle. Use a spirit level on the front part. Ensure that the saddle is completely horizontal. Then test and adjust it for smooth, comfortable pedalling.
Choosing the right saddle starts with a simple measurement: - Take two pieces of corrugated cardboard and place them on a stool. - Sit on them, straight up, and press down hard for one minute. - Stand up:two imprints should appear. - Connect the centres of the imprints with a ruler. This number is the distance between your sit bones, which is essential for finding the right saddle.
A good saddle position = no knee pain Sit on the bike and lean back to stay upright. Fix your feet in place and set the crank to horizontal. Check the knee-pedal alignment → adjust the saddle if necessary.
Perfect for daily travel with a wide cut suited to all body shapes.

Extra wide seat for better distribution of pressure.

The central part relieves pressure on the perineum. Unisex.
We've designed this saddle for occasional bike rides of up to 1 hour at low intensity and a back angle of 90°.
We've designed this saddle for occasional bike rides of up to 1 hour at low intensity and a back angle of 90°.
260 mm x 195 mm
Compatible with all brands of seat post with 7 mm rails.
Choosing the right saddle all depends on your position on the bike.For a straight back position (90°), opt for a very wide saddle, often with gel, ideal for outings.If you are slightly bent over (60°), an intermediate saddle will be a good compromise between comfort and performance.Finally, for a sporty position (30°), a thin saddle with a narrow nose is the solution to reduce pressure and improve your performance.
For maximum comfort, adjust your saddle at four key points.Choose a model suited to your posture (for example, a 60° back angle).Adjust the height to suit your body type, then adjust the angle to avoid discomfort.Finally, adjust its setback for good alignment. For complete comfort, don't forget to wear cycling attire suited to the length of your rides.
Step 1: Get a hardback book and a pencil. Step 2: Stand barefoot with your heels against a wall and your feet apart (15-20 cm). Step 3: Slide the book between your legs to your perineum. Step 4: Mark the top of the book on the wall. Step 5: Measure from the floor to the mark. This height corresponds to your inseam, which is essential for choosing the right size bike.
Adjusting your saddle correctly is easy! - Inseam measurement (in cm) × 0.883 = height to be adjusted. - For example:89 cm × 0.883 = 78.6 cm. This distance is measured between the bottom bracket and the top of the saddle.
Before setting off, check the angle of your saddle. Use a spirit level on the front part. Ensure that the saddle is completely horizontal. Then test and adjust it for smooth, comfortable pedalling.
Choosing the right saddle starts with a simple measurement: - Take two pieces of corrugated cardboard and place them on a stool. - Sit on them, straight up, and press down hard for one minute. - Stand up:two imprints should appear. - Connect the centres of the imprints with a ruler. This number is the distance between your sit bones, which is essential for finding the right saddle.
A good saddle position = no knee pain Sit on the bike and lean back to stay upright. Fix your feet in place and set the crank to horizontal. Check the knee-pedal alignment → adjust the saddle if necessary.
Perfect for daily travel with a wide cut suited to all body shapes.
Extra wide seat for better distribution of pressure.
The central part relieves pressure on the perineum. Unisex.
We've designed this saddle for occasional bike rides of up to 1 hour at low intensity and a back angle of 90°.
0 reviews
0 reviews
Member card
Please log in to view your member card.
Member card
Please log in to view your member card.
Reviews